

I finished my bedspread a few months ago after working and worrying about how to make it for a couple of years. Is it me, or do others fuss and ponder what design will be best with fabric choices?
So, all that was left were the decorative pillows (great use of scraps!)
This tutorial will explain how to make piping. This was my first time and I put off doing it for a long time because I was afraid. Well, it's not bad at all, actually fairly easy. Here are the directions!
 |
| One: Cut strips perimeter of pillow, plus about 6 extra inches. Make sure to cut them on the diagonal. These are 1 3/4 inches in width, but you can adjust width to your liking. |
 |
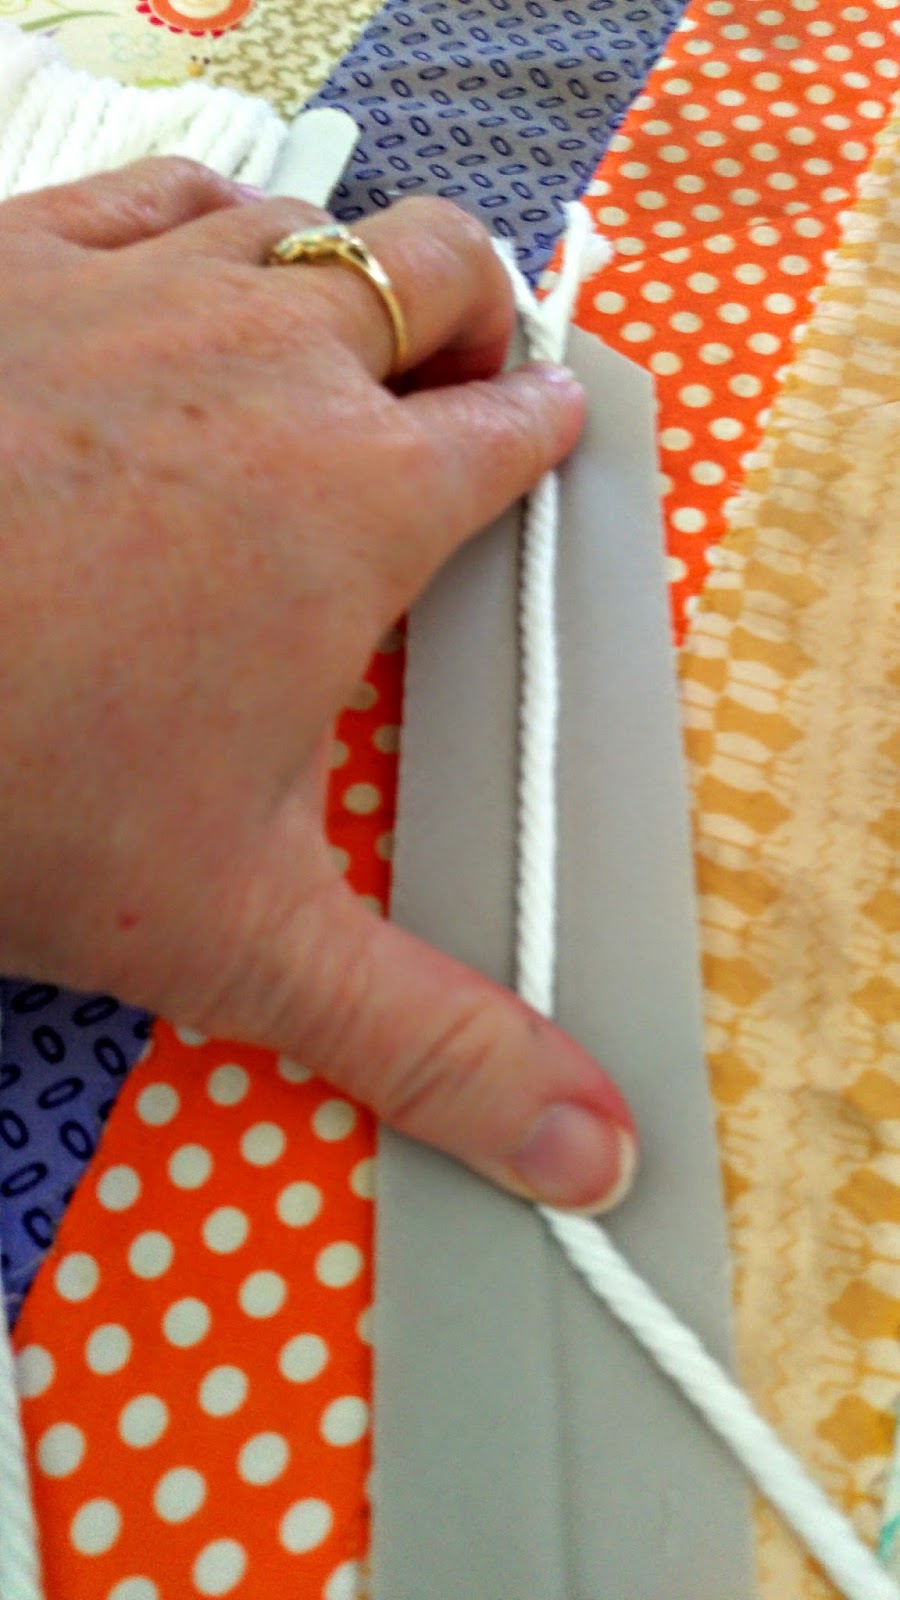
| Two: Sew strips of fabric together and press in half. The piping is cotton rope that I bought from Joann's. I found it back by their curtain items. It is 1/4 inch wide. |
Three: Place rope in center of opened fabric strip.

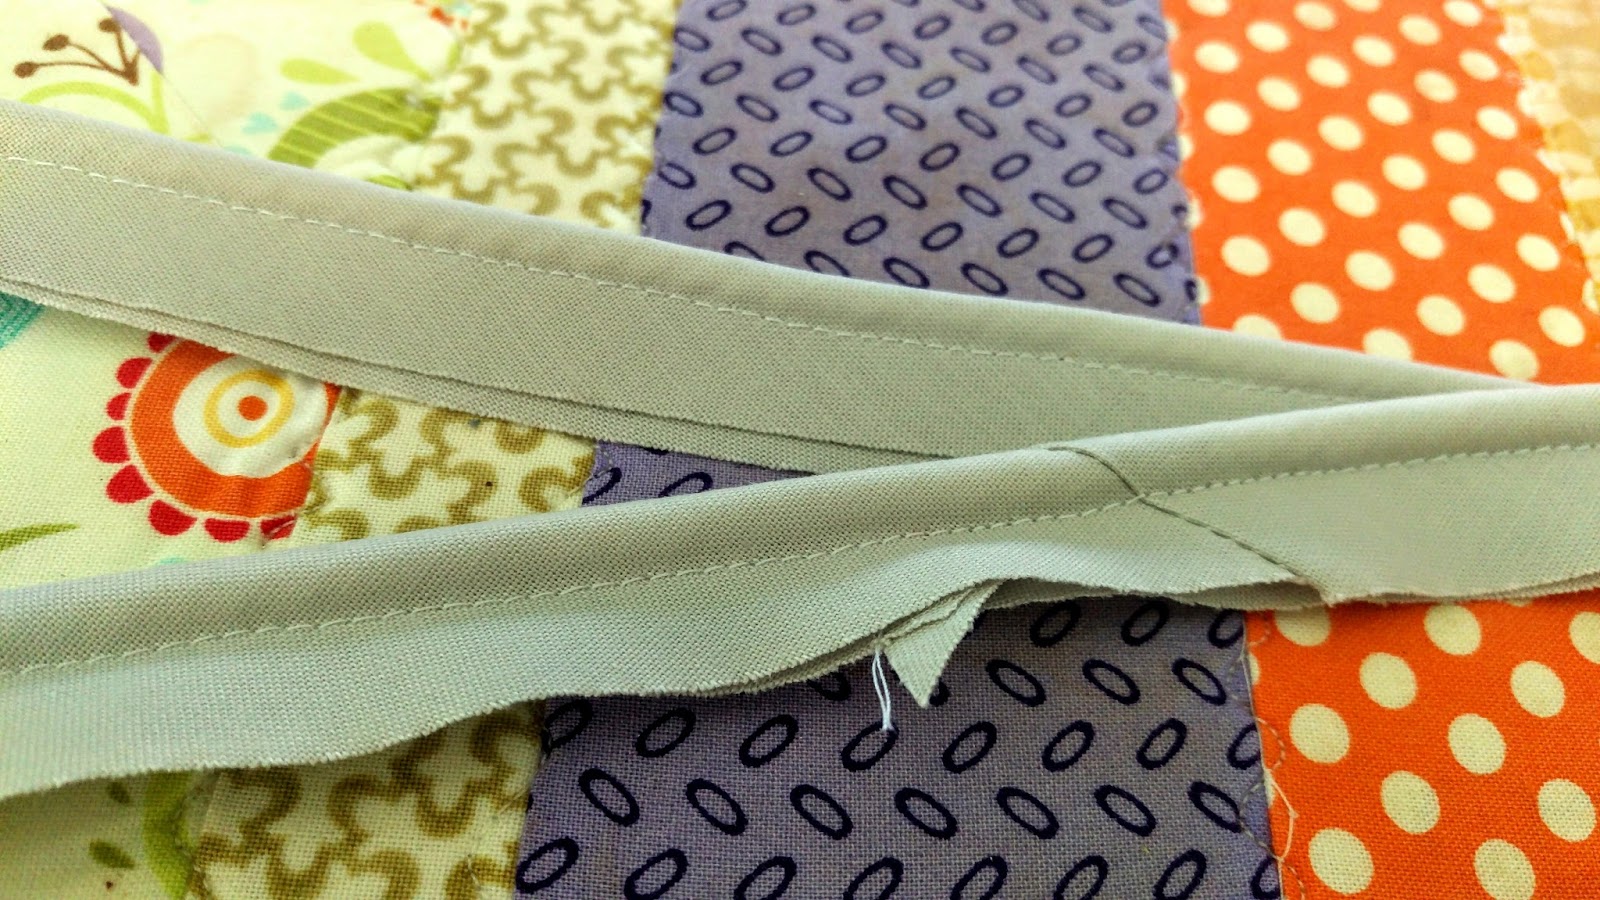
This is what the piping looks like when complete.
Five: Pin piping so it gradually turns off the edge.


No comments:
Post a Comment