
I started painting my home last month.... It began with one room, then another, then another... three rooms in one month may not sound like a lot, but things got really crazy and I started striping!!
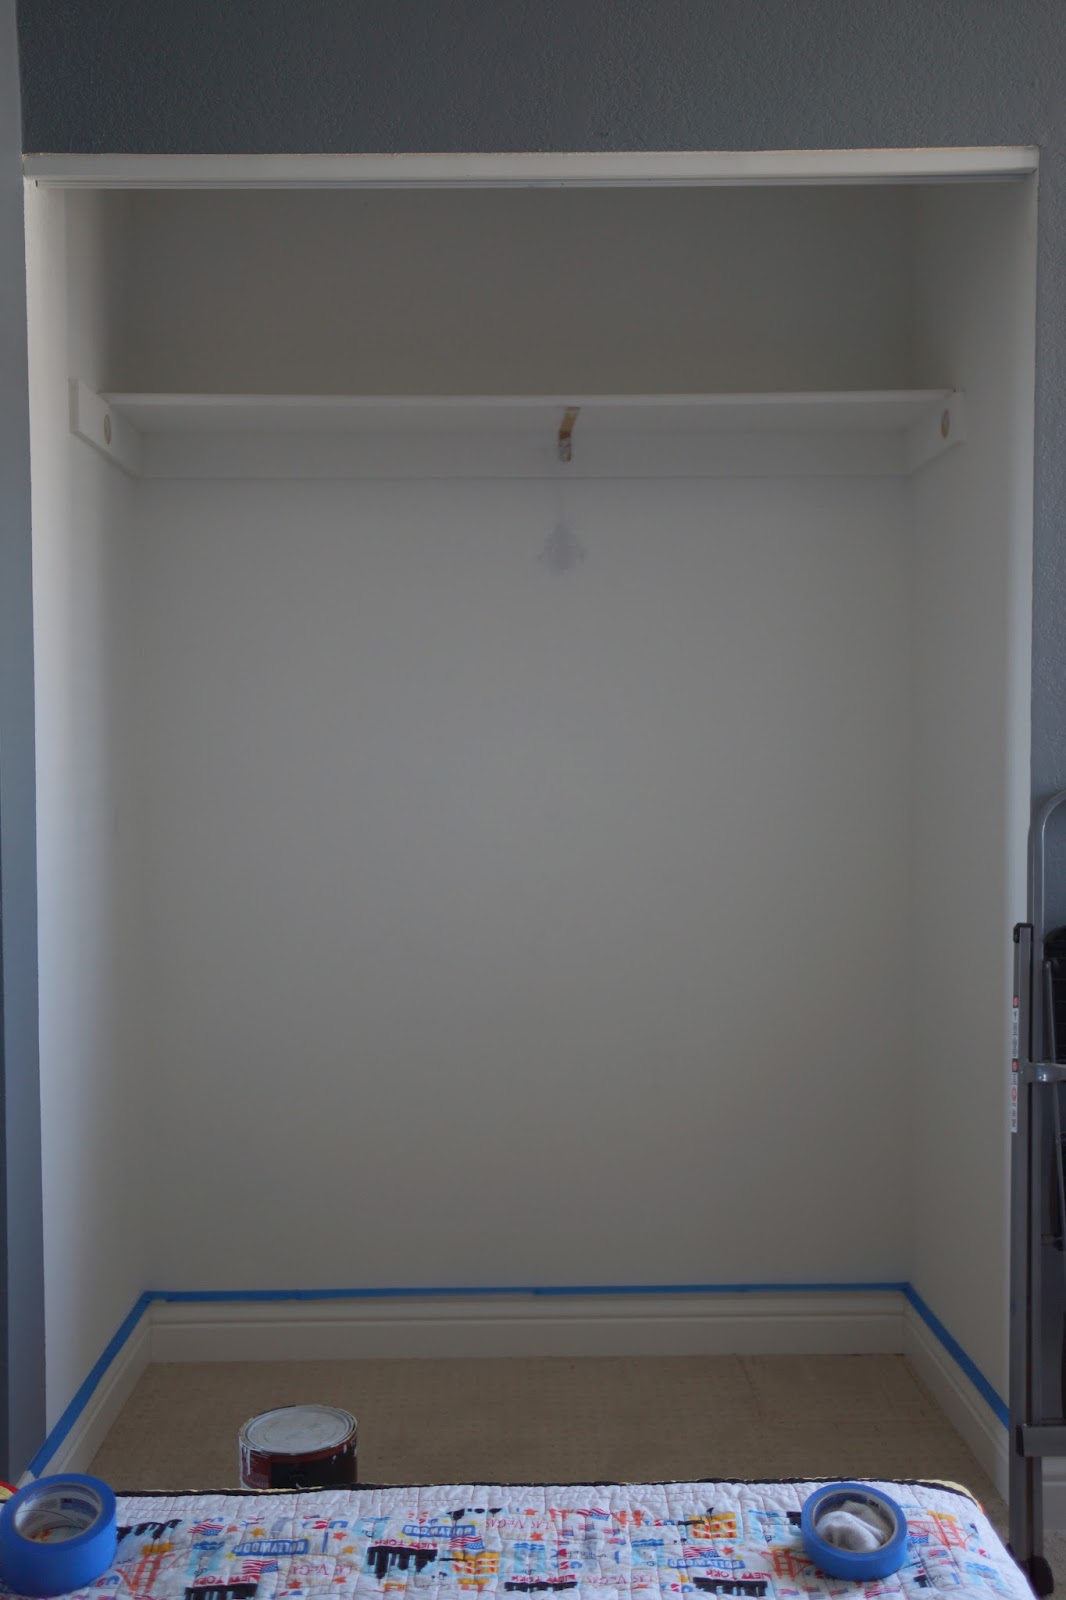
From this-
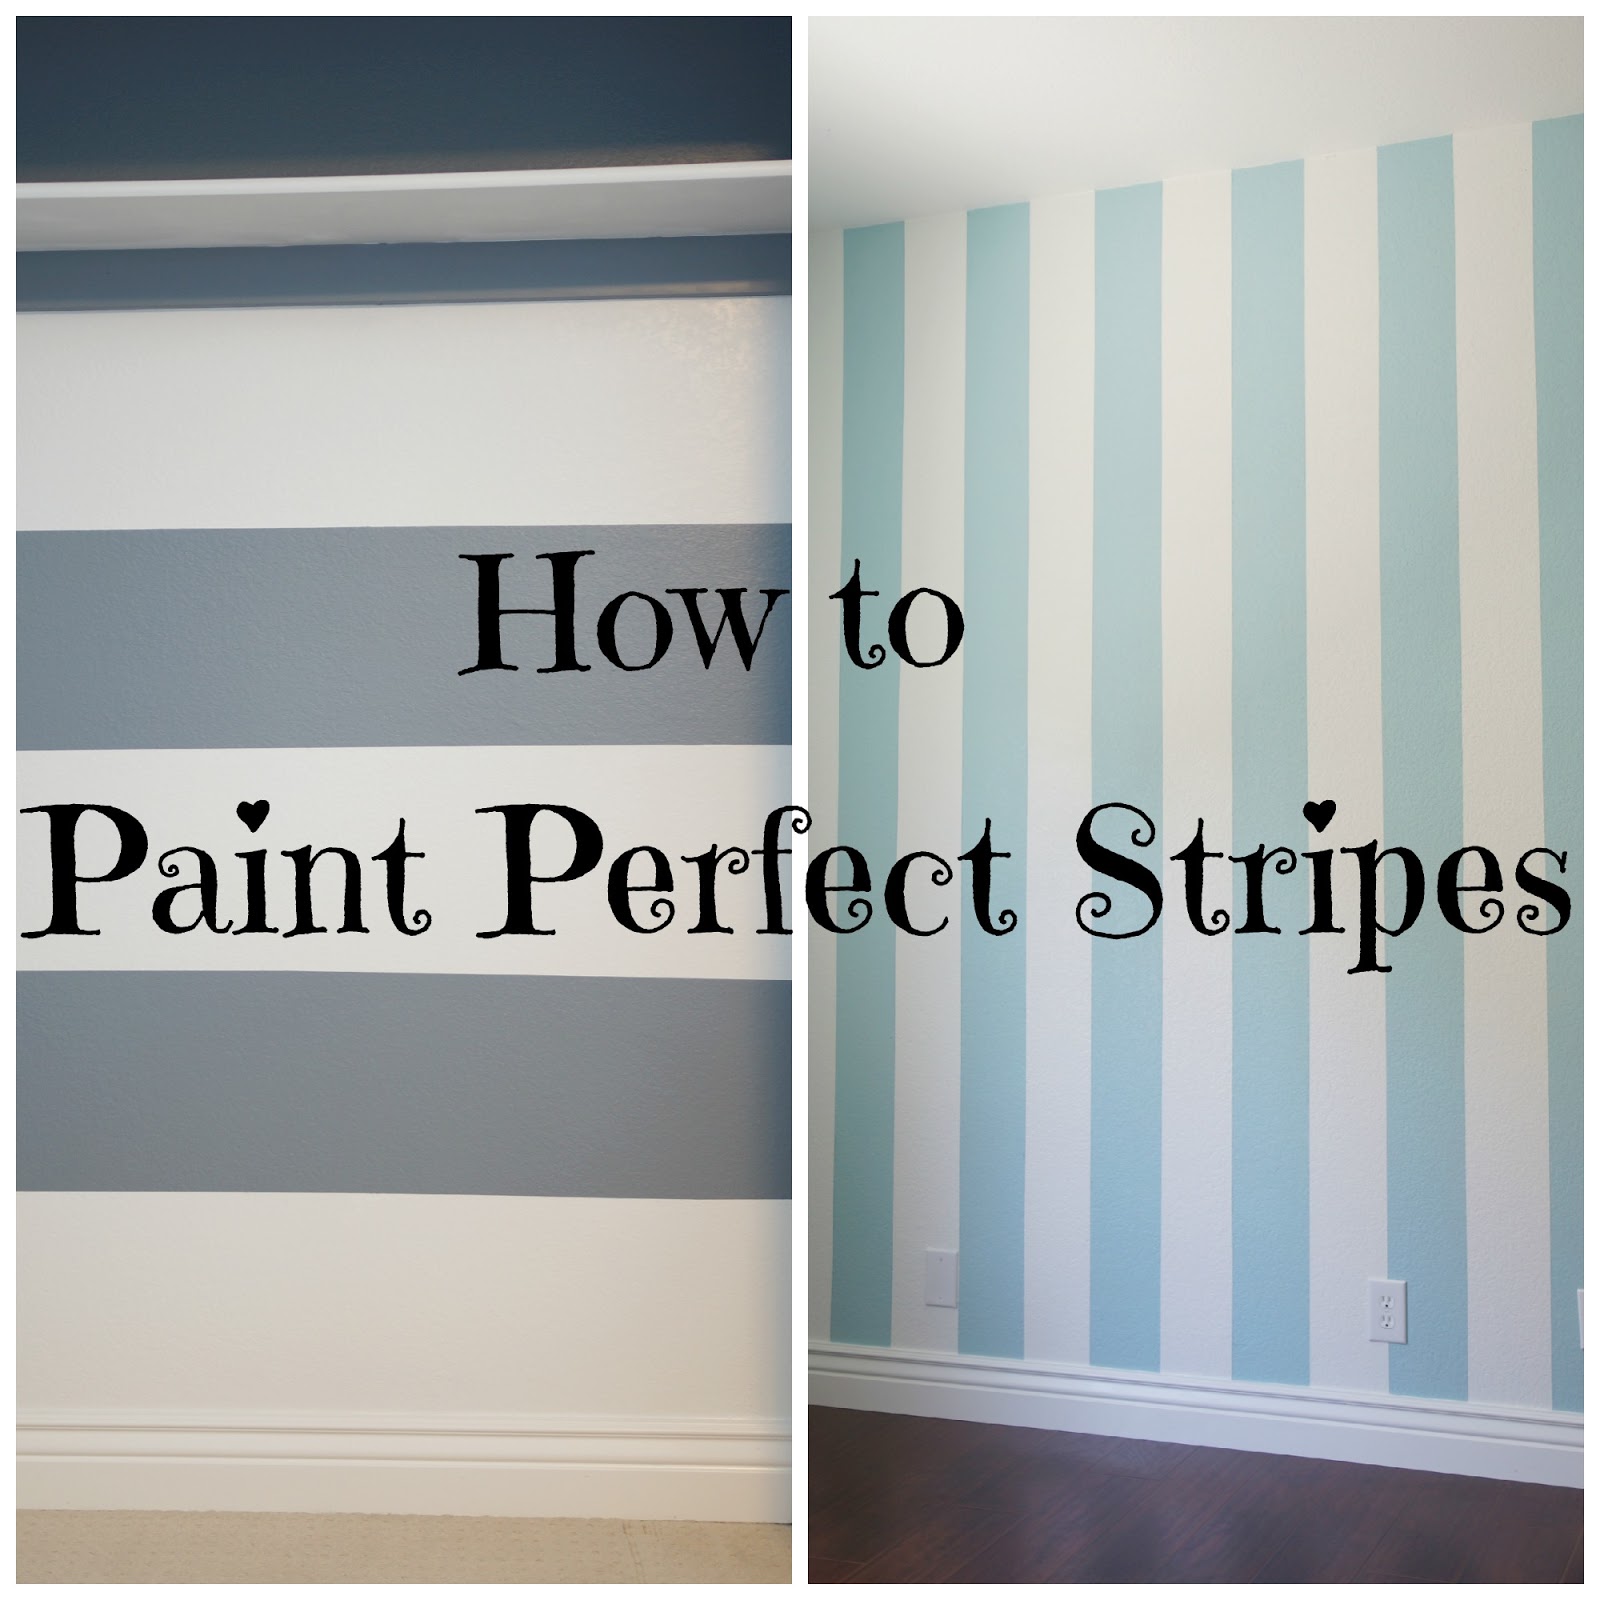
To this-

Follow these easy steps and you'll be striping your whole house (like me) in no time!
*Make sure to read the whole post and view all the pictures before you start your own project.
*These pictures are from another closet I striped. You can do horizontal or vertical (I wanted to try both!) the steps are the same.
------I like to start and end with white stripes, which made every wall I striped an odd number of stripes. Decide what look you're going for, so you know if need an odd or even number of stripes. For example- If I had done the white and gray stripes on a wall with a white ceiling I may have started with gray and ended with gray (using an odd number of stripes) or I could have started with white and ended with gray (using an even number of stripes)
1. Paint the wall you want to stripe a solid color. This wastes paint, but it was the fastest and easiest way for me to start, and since it was a small closet area, I didn't feel too wasteful.
2. Measure and mark your stripes (use a level to get them straight). I ended up with 17 stripes in this closet
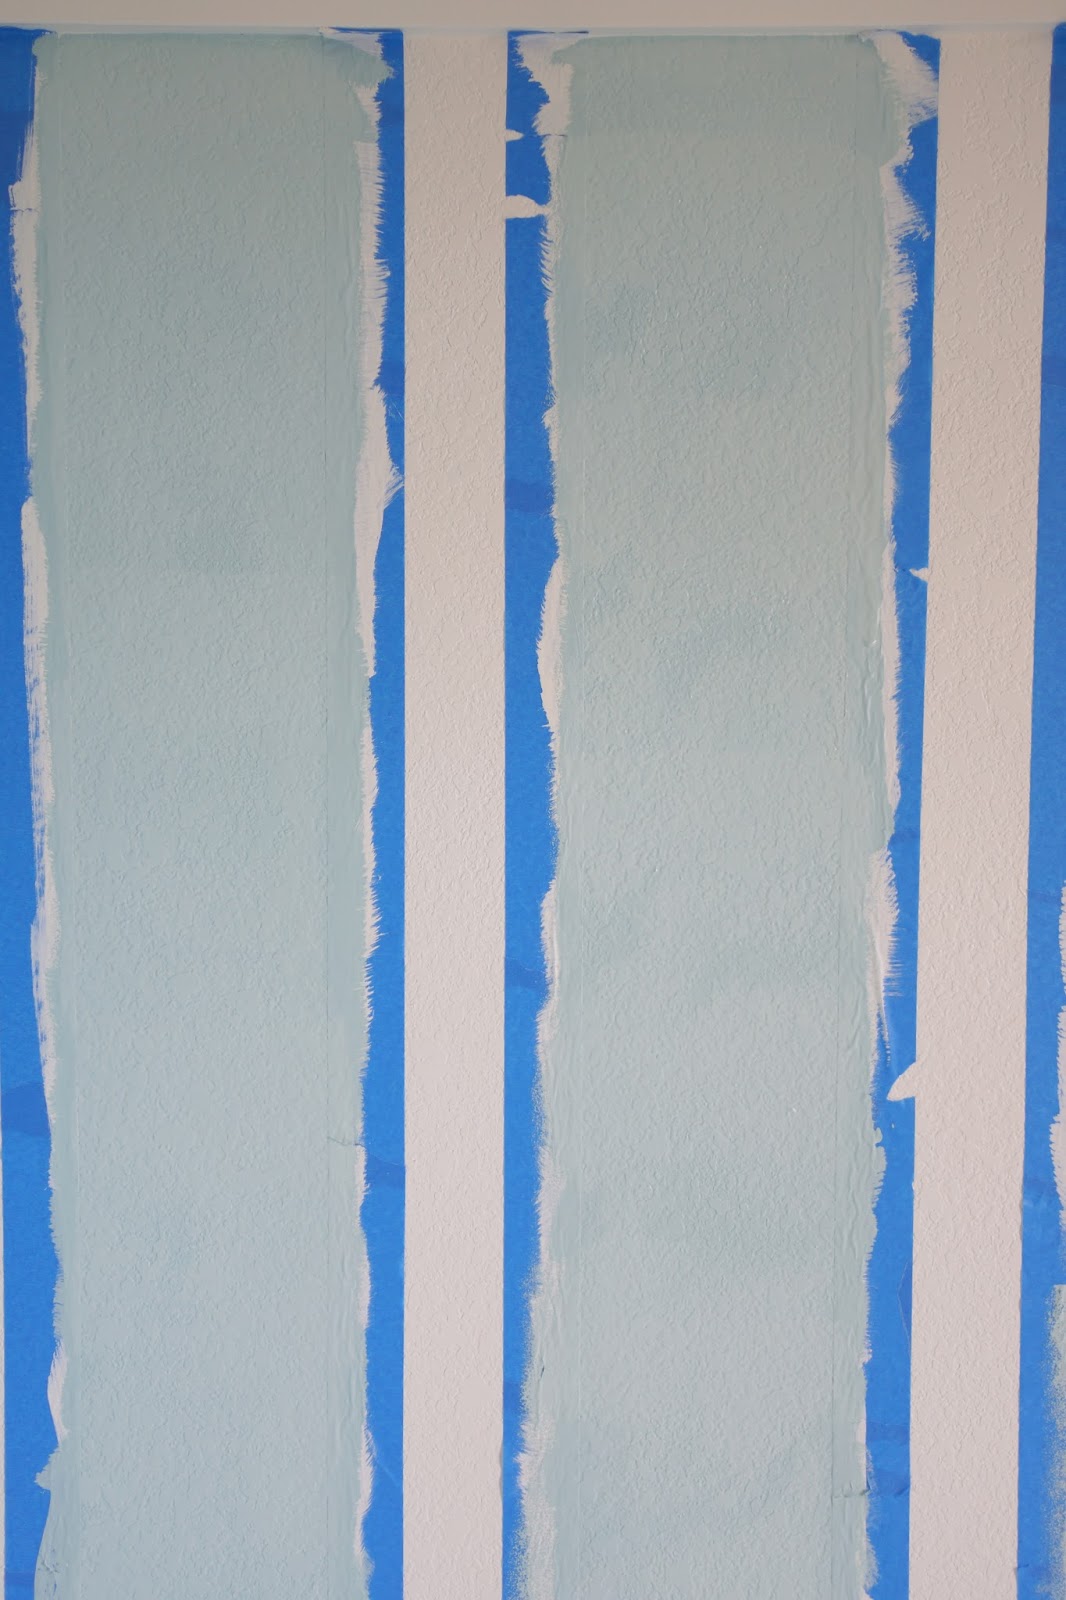
3. Tape the inside of your stripes (making sure to use a level). The stripes look like two different sizes because I taped inside the white part of my stripes. Let me show you why-
4. Paint along the tape where you will be putting the new color. For me, my stripes are blue and white. I started with a white background, I taped inside my white stripes, then I painted the tape with white. What this does is seal the tape down so that you get nice crisp clean lines. Let the paint dry, (according to whatever paint can recommends), and do another coat.

5. Once your white has dried, you're ready to paint some color! Making sure not to get paint on your opposite stripe, paint in your colored stripe. Two coats of paint may be necessary
6. Once the paint is dry, peel the tape off and make any small touch ups.
I did end up with colored paint on my white striped that I had to fix, and although the tape did an AMAZING job of keeping my lines straight, there were a few spots I had to touch up with an angled brush
-Before-

-After I touched up with my brush-

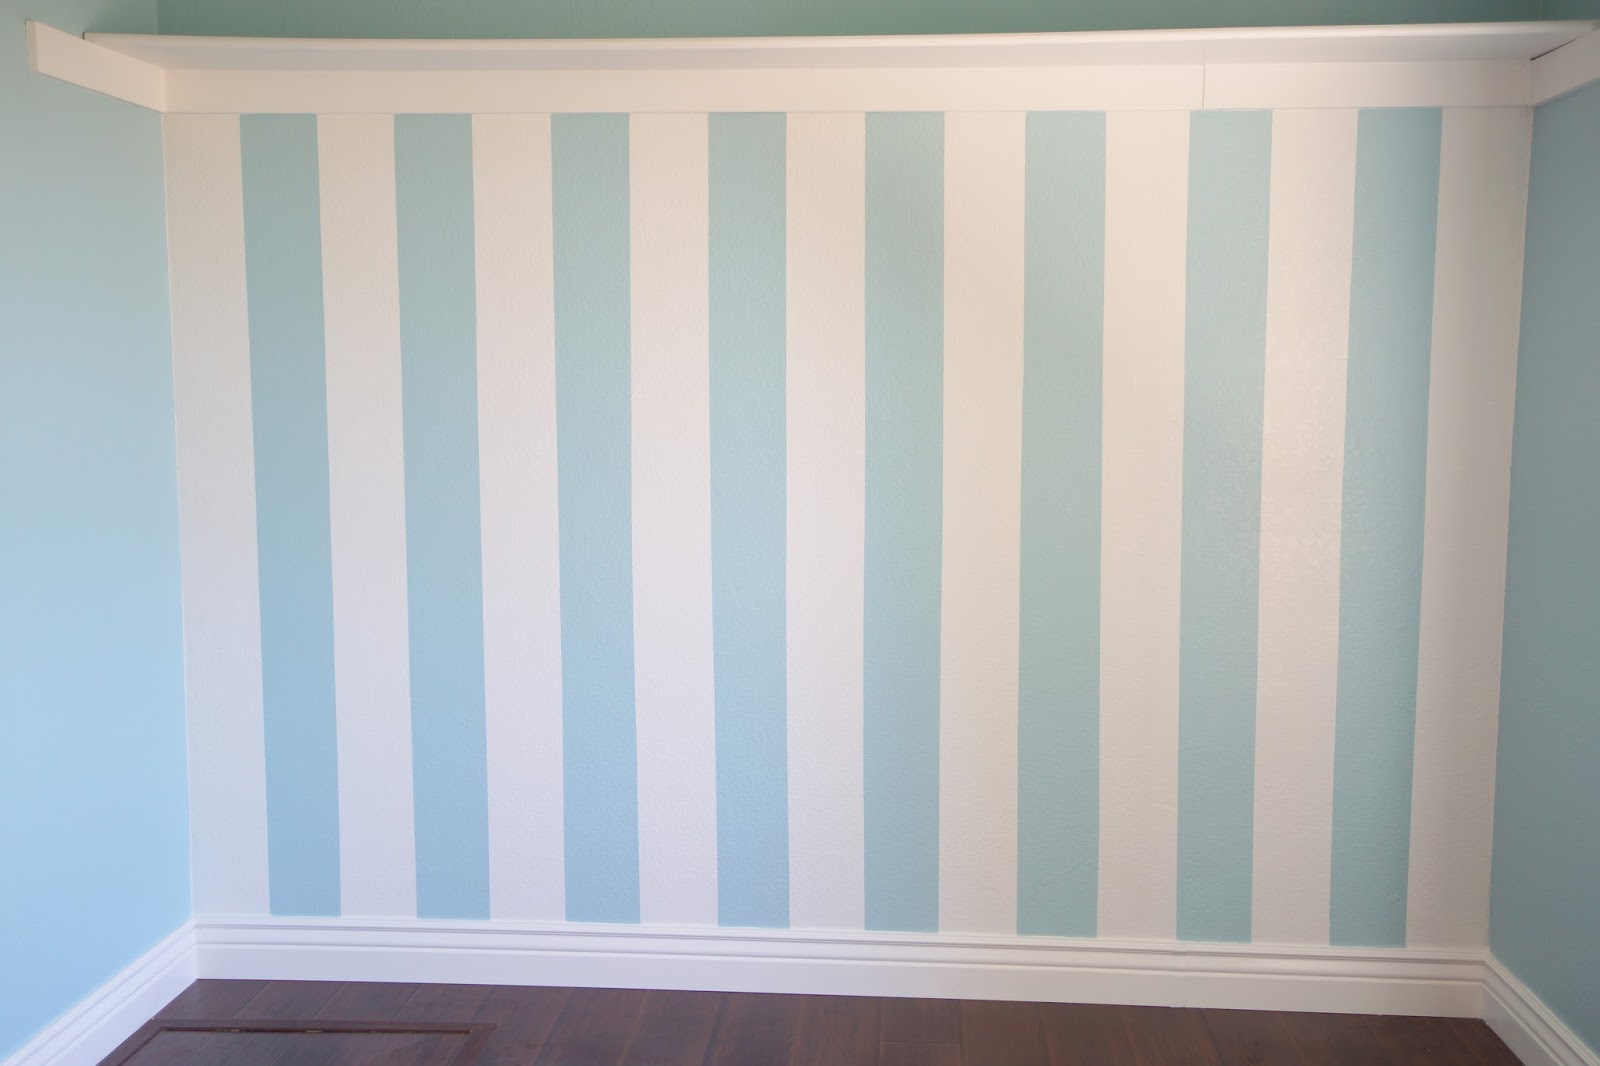
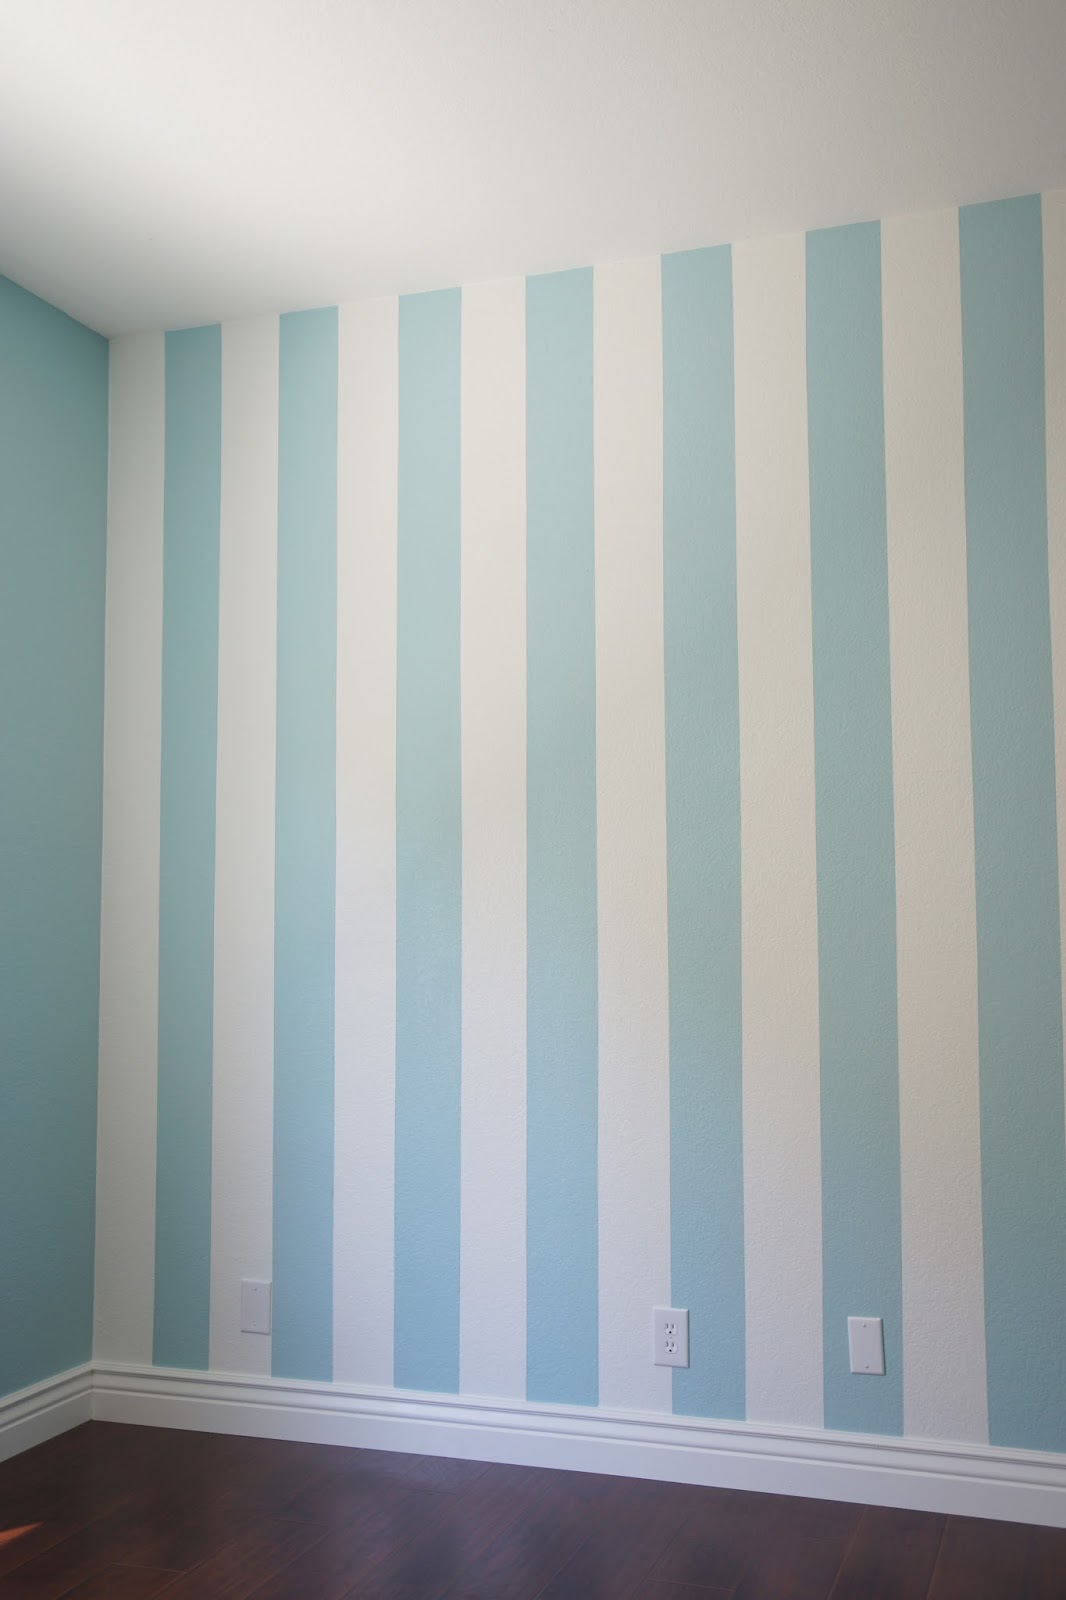
Things got real when I decided to stripe an extra tall wall in the same room as my striped closet (this is my future sewing/guest room). I had originally painted the wall solid blue, but I didn't like how dark it made the room feel... So more stripes more me!!
(This time I painted them the opposite way starting with my colored stripes first, and adding white. I still started and ended with a white stripe)

All it needs is crown molding!
I really love my stripes and I can't wait to finish decorating the reading nook and this guest room!
No comments:
Post a Comment